
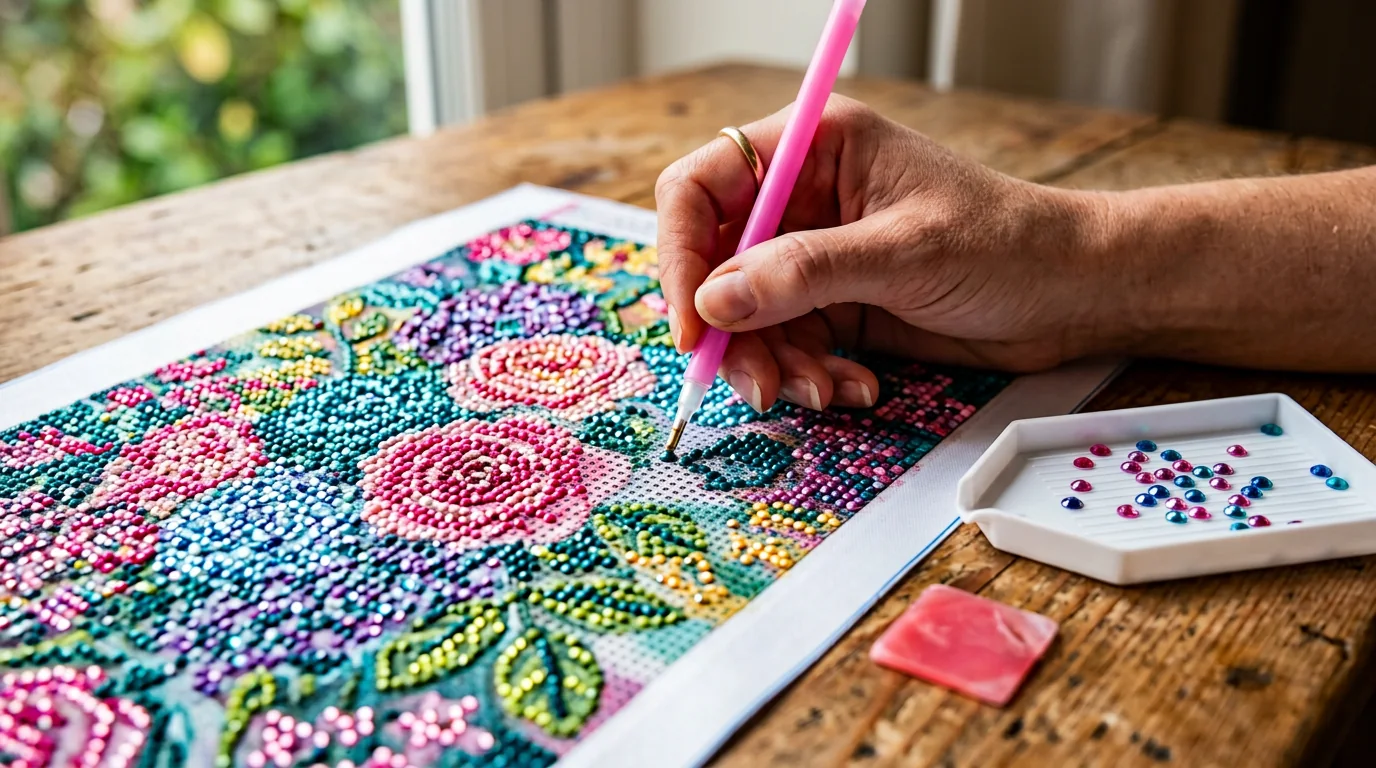
Quick answer: Diamond art is made by placing small, faceted resin drills onto the matching symbols of a sticky, color-coded canvas. Peel back a small area, use the included wax or putty pen to lift drills from the tray, and press each drill flat-side down onto its symbol. Keep the rest of the canvas covered as you work.
Also called diamond painting, this beginner-friendly craft uses a printed chart instead of paint or drawing skills. The canvas already has adhesive, so the wax or putty is for picking up each drill—not for gluing it onto the canvas. This diamond art how-to takes you from opening the kit to checking and displaying your finished piece.
What is diamond art?
A diamond painting canvas is printed with a grid of small symbols. Each symbol matches a color or code on the kit’s key and drill packet. The tiny resin pieces—often called drills—have a flat back and a faceted top: the flat side sticks to the adhesive, while the facets face up and catch the light.
The basic rhythm is simple: uncover a small patch, match a symbol to its drill color, pick up a drill with the pen, and place it. Working in short sections keeps the adhesive clean and makes a large canvas feel manageable.
What you need to start
Most beginner kits contain the essentials. Check your kit’s instructions, since tools and pen styles vary by brand.
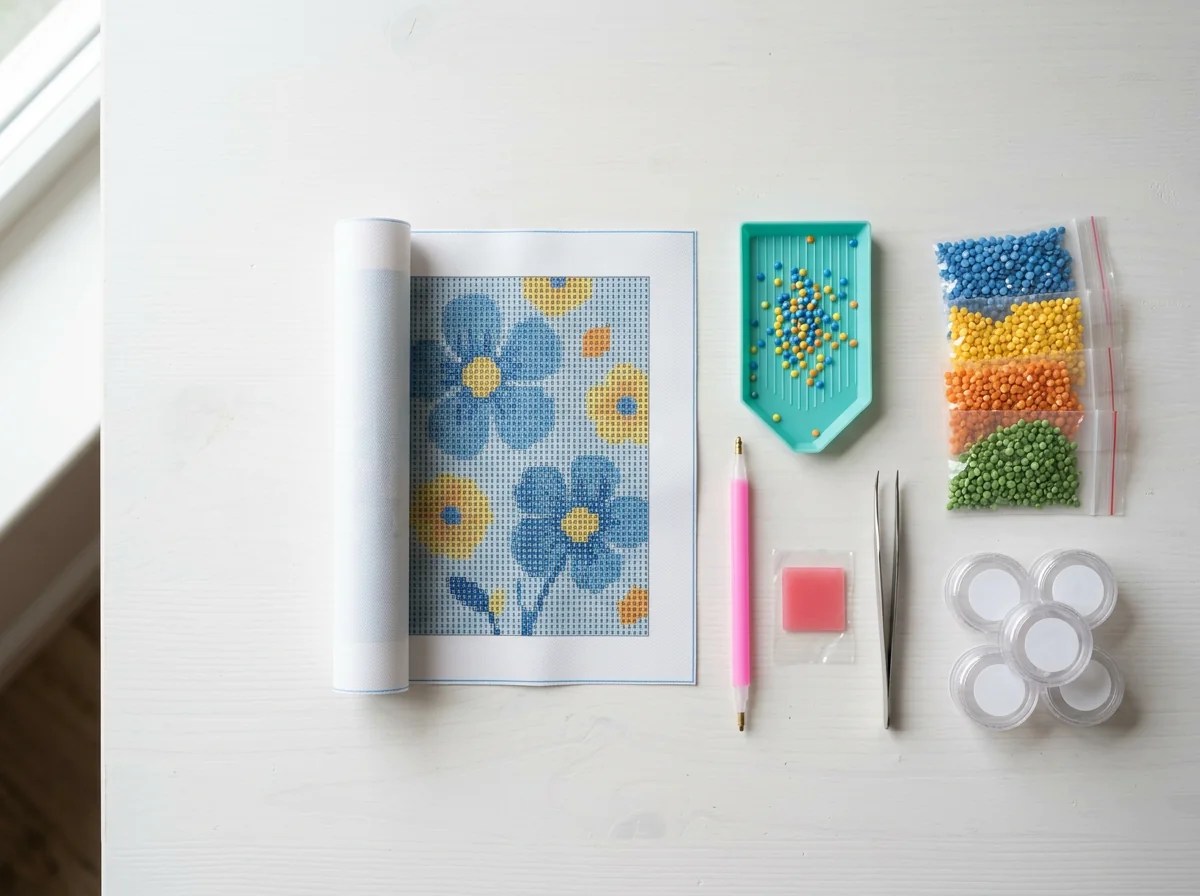
- Adhesive canvas and symbol key: the printed pattern and color-code reference.
- Drills: small resin “diamonds,” usually sorted into labeled packets.
- Applicator pen: a pen-style tool that picks up one or more drills.
- Wax or putty: temporary grip for a traditional hollow-tip pen; some newer pens come prefilled.
- Grooved tray: helps orient drills so they are easier to pick up.
- Optional helpers: a bright desk lamp or light pad, tweezers, and small labeled containers can make longer projects easier, but they are not required.
Before you begin: set up your workspace
Choose a stable, clean table with enough room for the canvas, tray and the color you are using. Good light makes small symbols easier to distinguish. Wash and dry your hands before touching the canvas, and keep loose drills away from young children and pets because the pieces are small.
If the canvas arrived rolled, lay it flat and give it time to relax. You can place clean, lightweight books along the edges while the protective film stays on. Avoid folding the canvas or applying heat unless the kit maker specifically says it is safe; heat can damage some canvases or adhesives.
Before placing a drill, look at the symbol key and locate the matching packet code. Symbols and color labels can differ between kits, so use the chart that came with your canvas rather than assuming a code means the same thing in every set.
How to do diamond art: 8 beginner steps
1. Choose a small working area
Start at an edge or corner and pick an area you can comfortably reach—roughly palm-sized is a useful first patch. Peel or fold back only enough of the clear protective film to expose that area. Leaving the rest covered helps keep dust, lint and stray fibers off the adhesive. If the film is divided into sections already, lift one section at a time.
2. Match a symbol to its drill color
Look at the symbols in the exposed patch and find one on the chart. Match its symbol or code to the label on the corresponding drill packet. Double-check similar-looking marks—such as a letter and a number—before opening a color. When in doubt, use the code on the kit’s key rather than judging by color alone.
3. Pour a little of one color into the tray
Open only the packet you need and pour a small amount into the grooved tray. A shallow layer is easier to line up than an overfilled tray. Keep the packet or its label nearby, and close or set it aside before opening another color so drills do not get mixed.
4. Gently line up the drills
Tilt the tray slightly and shake it from side to side. The grooves help most drills settle with their flat backs down and faceted tops facing up. If some are upside down, shake again rather than trying to flip every piece by hand. A light touch is enough; vigorous shaking can scatter drills.
5. Prepare the applicator pen
For a traditional hollow-tip pen, press the tip lightly into the supplied wax until it picks up a small amount. You usually do not need to reload after every drill. If your kit has a prefilled putty pen, follow its instructions instead. Test the tip on one drill: it should pick up the piece without needing a hard press.
6. Pick up and place each drill
Touch the pen tip to the faceted top of a drill in the tray. Carry it to the canvas, line it up over the matching symbol, and press gently so the flat back contacts the adhesive. Lift the pen straight up. If a drill lands crooked, nudge it into position with tweezers before placing the neighboring drills.
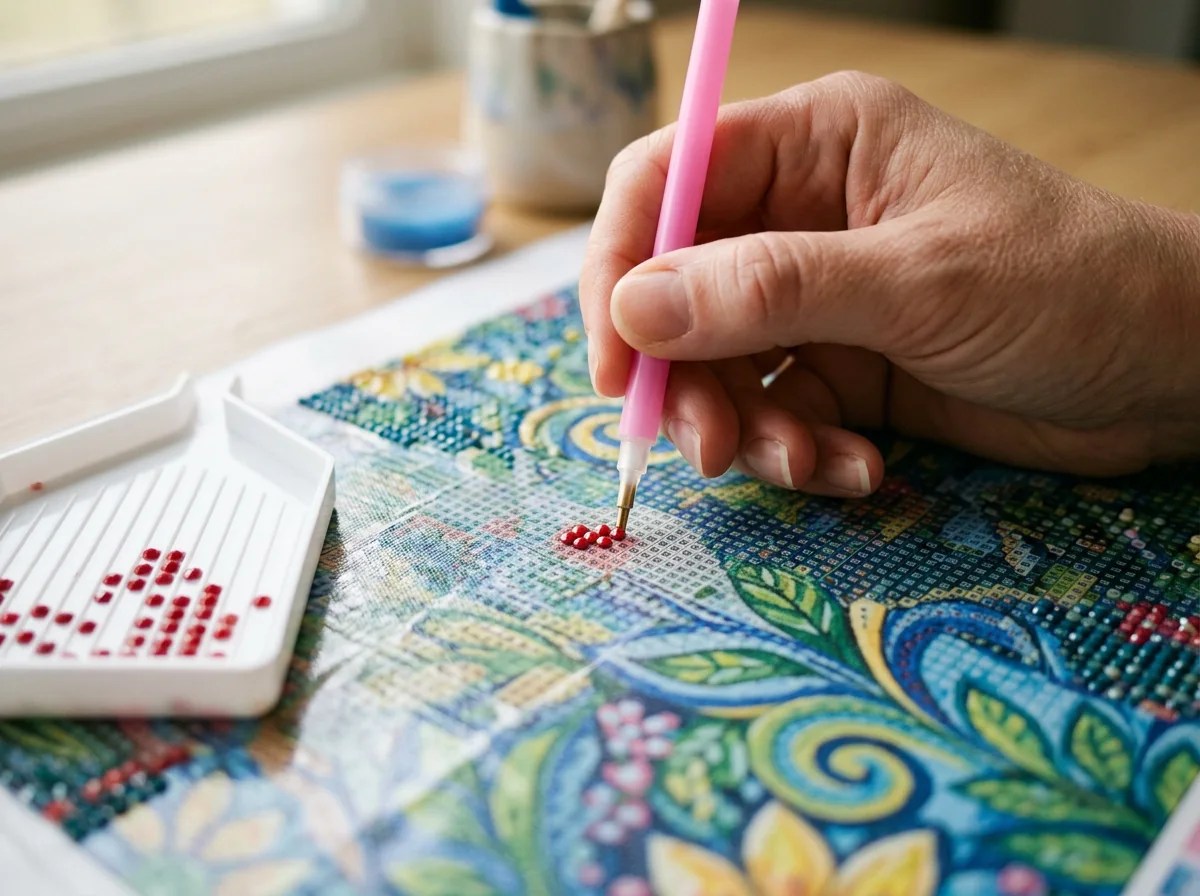
7. Fill the patch, one color at a time
Continue placing that color wherever its symbol appears in the exposed area. Then return the remaining drills to their labeled bag or container, switch colors, and repeat. Many beginners find it easiest to finish one small patch before uncovering the next. A multi-placer pen can speed up long rows of the same color, but a single-tip pen gives more control around detailed sections.
8. Cover the canvas and repeat
When you pause, cover the exposed adhesive with the original protective film or a clean release sheet made for craft work. Continue with the next small patch until the design is complete. At the end, check for missing or misplaced drills and press the finished area evenly through a clean protective layer if your kit instructions recommend it.
Round or square drills: which is easier?
Both shapes work the same way, but they feel a little different to place. If this is your first project and you want a forgiving start, round drills are often easier to align. Square drills can create a tightly tiled look, but straight rows matter more.
| Drill shape | What to expect | Beginner note |
|---|---|---|
| Round | Individual circles with a little visible space between them. | Forgiving of slight spacing differences; a comfortable first choice. |
| Square | Pieces sit closer edge to edge for a more tiled surface. | Take extra care with alignment, especially across long rows. |
Common diamond art problems—and how to fix them
- The pen will not pick up a drill: refresh the wax or putty a little at a time. If the tip is clogged with old wax, clean it according to the pen’s instructions.
- A drill will not stick to the canvas: check that the protective film is fully lifted from that spot and that the adhesive is clean. Remove loose lint carefully with tweezers; avoid rubbing the area or using liquid cleaners. If the tack is gone, ask the kit maker about a compatible adhesive.
- Two colors look almost identical: compare packet codes with the canvas key, not just the shade. Keep each color in its own labeled bag or container.
- Rows are drifting or uneven: slow down for a few placements and align each drill with its printed cell. Use tweezers to make small corrections before the surrounding drills close in.
- The canvas keeps curling: let it rest flat under light, clean weights with the protective film still on. Do not crease it or use heat unless the manufacturer recommends that method.
- The symbols are hard to read: move to brighter, neutral light. A light pad or magnifier is an optional help for low-contrast patterns.
How to finish, seal and display your diamond painting
When every section is filled, compare the canvas with its key and look for bare symbols, upside-down pieces or stray drills. If the kit’s film still fits, lay it over the finished surface and use a clean, smooth roller or brayer with even, gentle pressure. Do not press hard enough to shift the drills or scrape their facets.
Sealing is optional, not a required step for every canvas. A compatible sealer can help secure drills for some display situations, but a thick coat may soften the sparkle or change the finish. If you choose to seal, test the product on a spare drill or inconspicuous edge first, use a product intended for diamond art, and follow its drying instructions. For framing, allow enough space so glass or acrylic does not press directly on the raised drills.
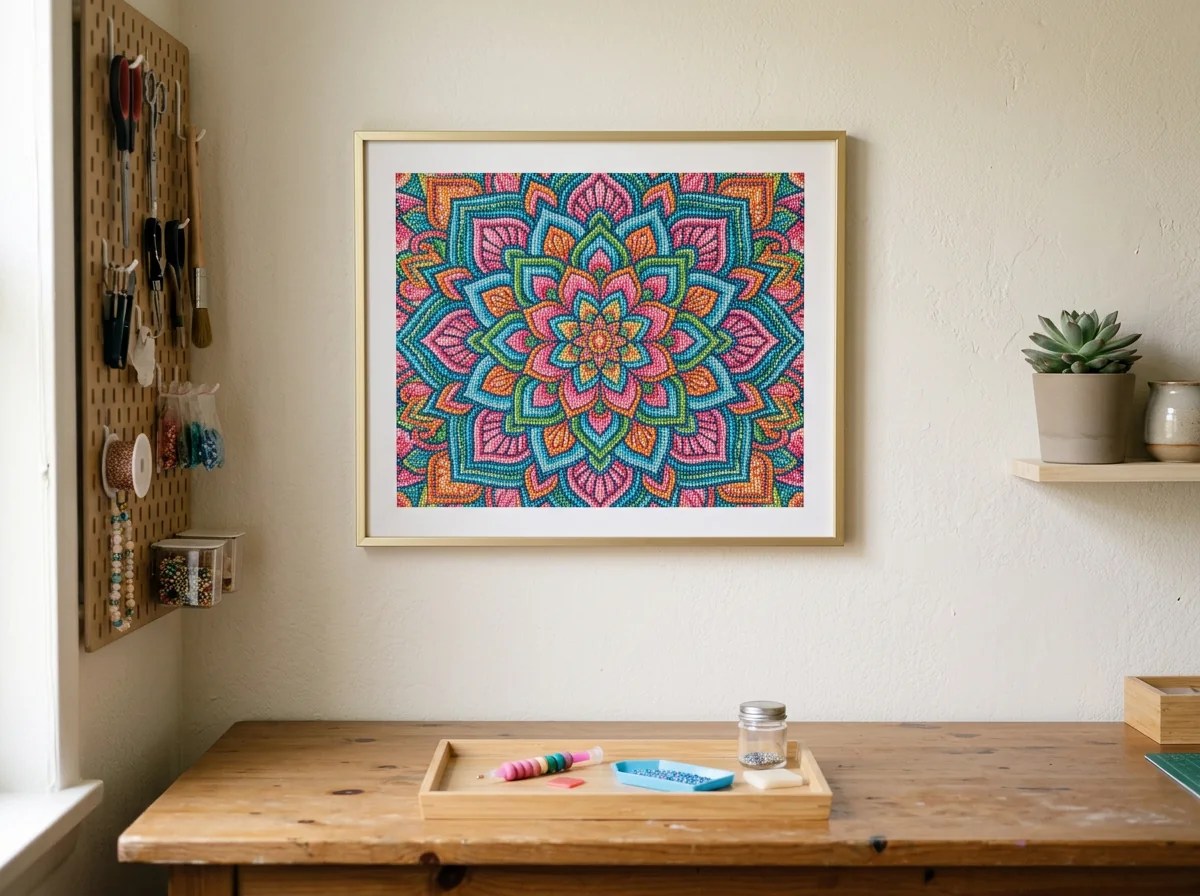
Store leftover drills in clearly marked containers and keep an unfinished canvas covered between sessions. Once the project is dry and secure, display it away from excess moisture and direct sunlight.
Diamond art how-to FAQs
Is diamond art easy for beginners?
Yes. The canvas guides you with a symbol key, and the basic task is to match each symbol to the correct drill. Start with a manageable design, use good light, and work in small sections.
Do I need glue for diamond painting?
Usually not. The canvas is already adhesive. Wax or putty goes on the pen tip to pick up drills; it is not meant to be spread over the canvas. Only add adhesive if your kit maker recommends a specific repair method.
Which side of the diamond goes down?
The flat back goes down onto the sticky canvas. The faceted side faces up so it can catch the light.
Can I remove a drill I placed in the wrong spot?
Often, yes. Lift it carefully with tweezers and reposition it before nearby drills make access difficult. Avoid scraping or pulling hard, which can damage the canvas or disturb its adhesive.
Should I seal my finished diamond art?
Not always. Sealing is a personal choice that depends on the canvas, the display and the sealer. It may improve hold, but some products can reduce the facets’ shine. Test first and follow the product label.
The easiest way to get started is to keep three habits: match the kit’s code, expose only a small area, and keep drills labeled. After a few rows, the process becomes a steady pick-and-place rhythm—and the image appears one sparkling section at a time.